PREPARATION OF THE BASE
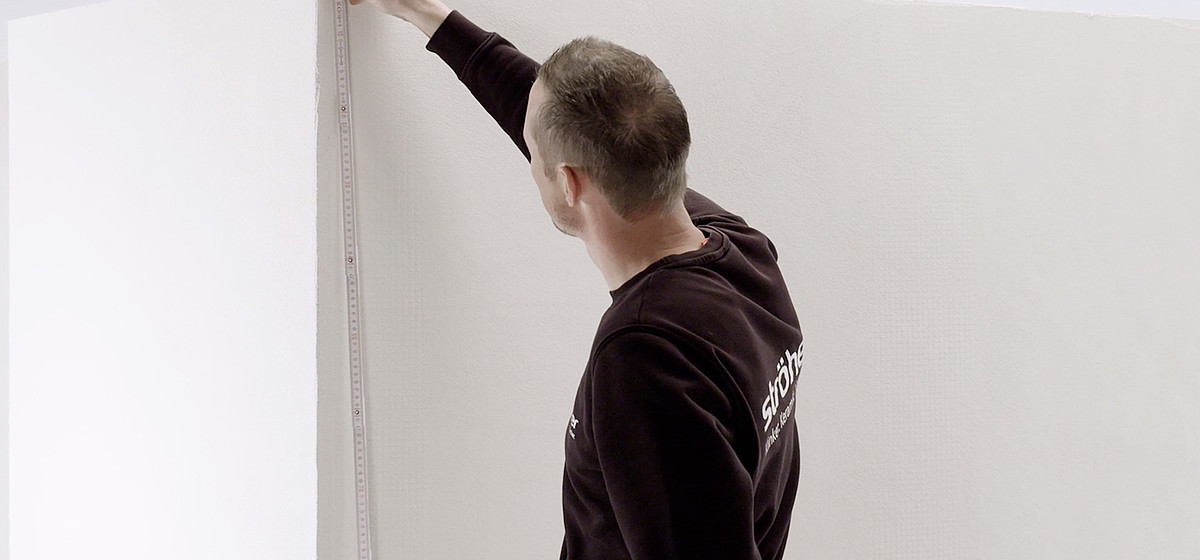
Clinker brick slips are bonded onto a stable base. All wallpaper, bumps and loose plaster must be removed from the wall thoroughly beforehand. Any hollows or holes must be filled.
PARTITIONING
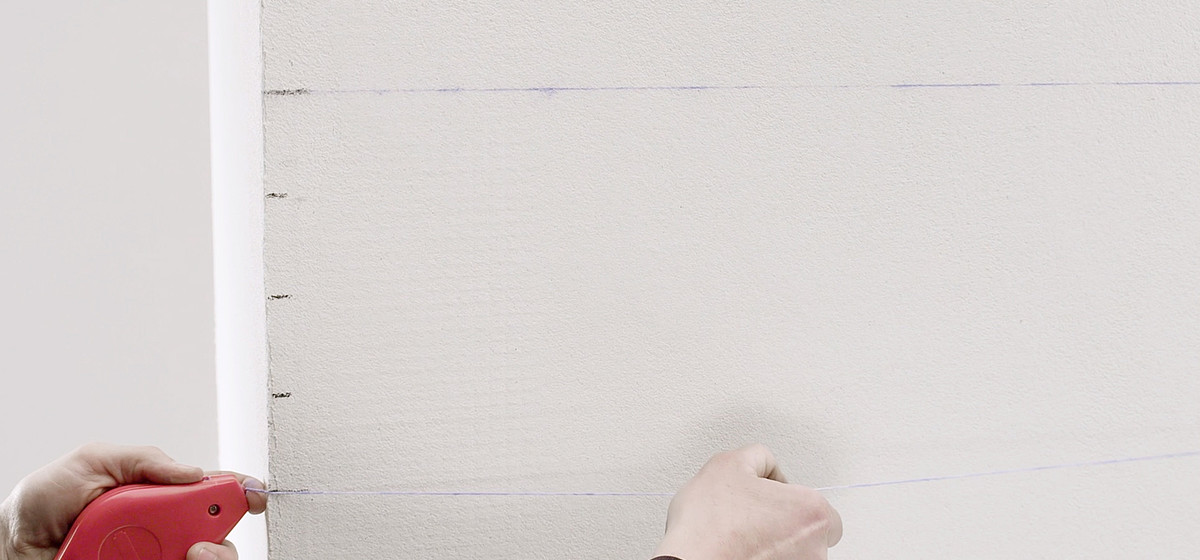
Once the base has been prepared, the layers are partitioned.
BOND
The clinker wall is given an appropriate brickwork look with a typical brickwork bond. Clinker brick slips offer almost unlimited design potential. Before starting to apply the brick slips, it is first necessary to decide on the brickwork bond. In most cases, a “random” bond is recommended. The number of “headers“ to be incorporated may vary (see examples). A header is the end face of a whole brick and the effect is replicated by cutting a clinker brick slip using tile cutter or wet saw.
MIXING
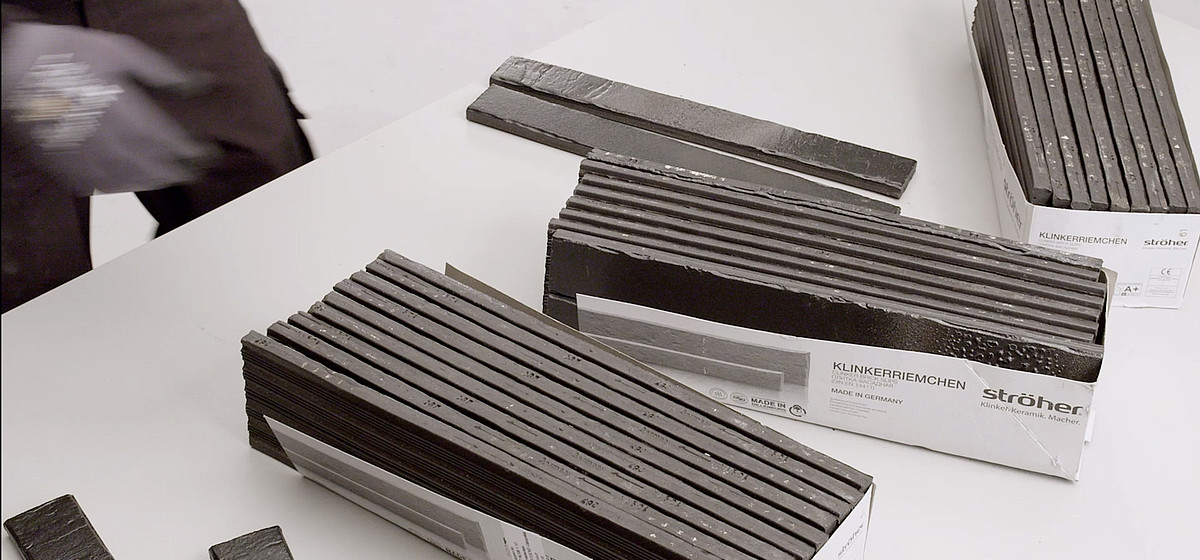
As when using clinker brick slips on an external facade, indoor clinker brick slips must be mixed from different boxes. This is the only way to achieve an even, natural appearance. As a natural product, clinker brick slips have characteristic colour differences - no two clinkers are the same.
PROCEDURE
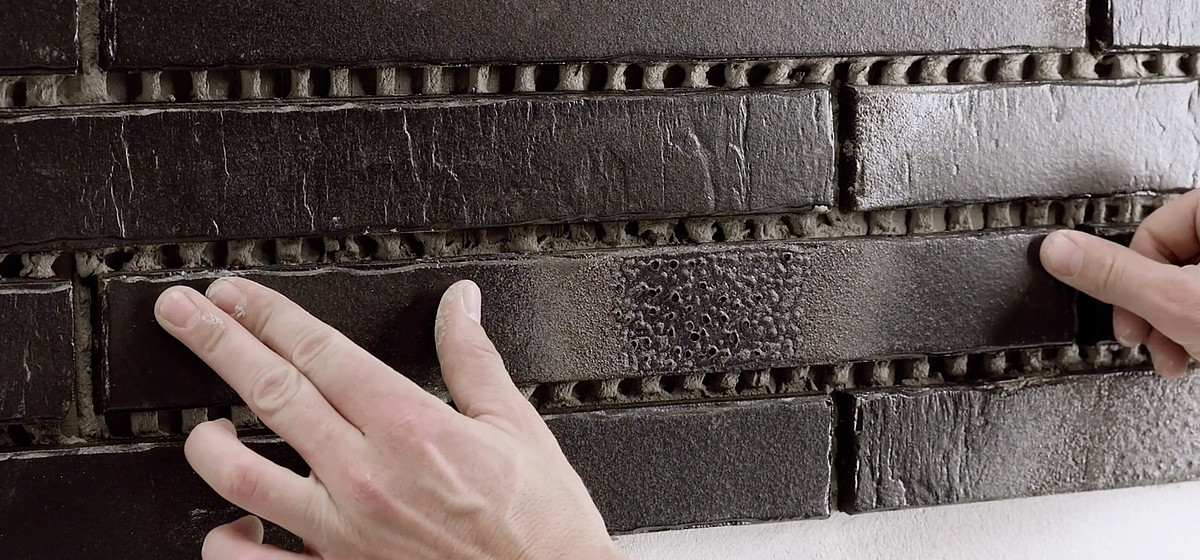
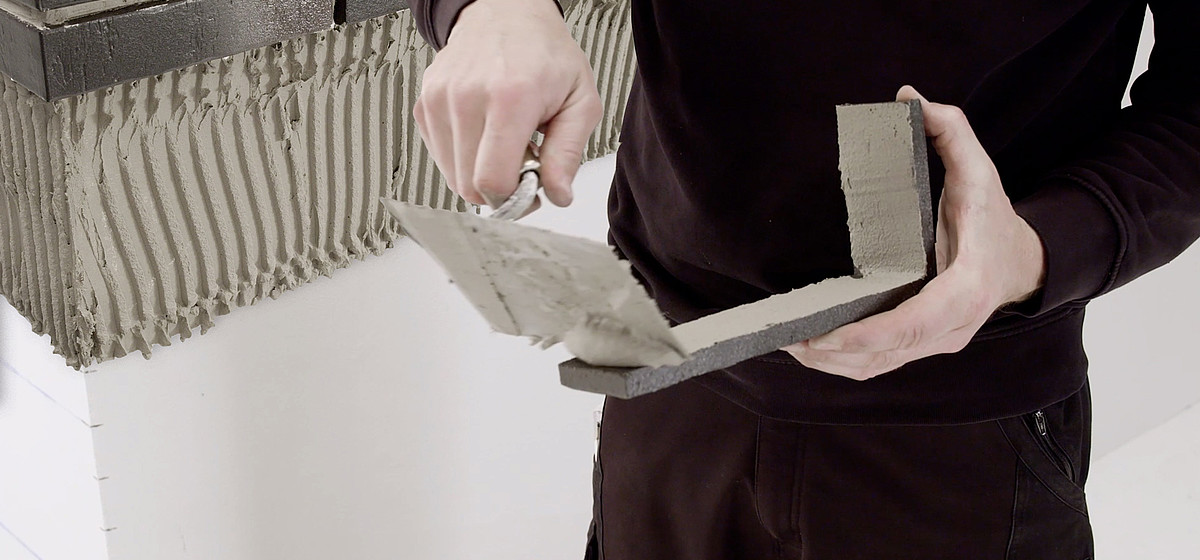
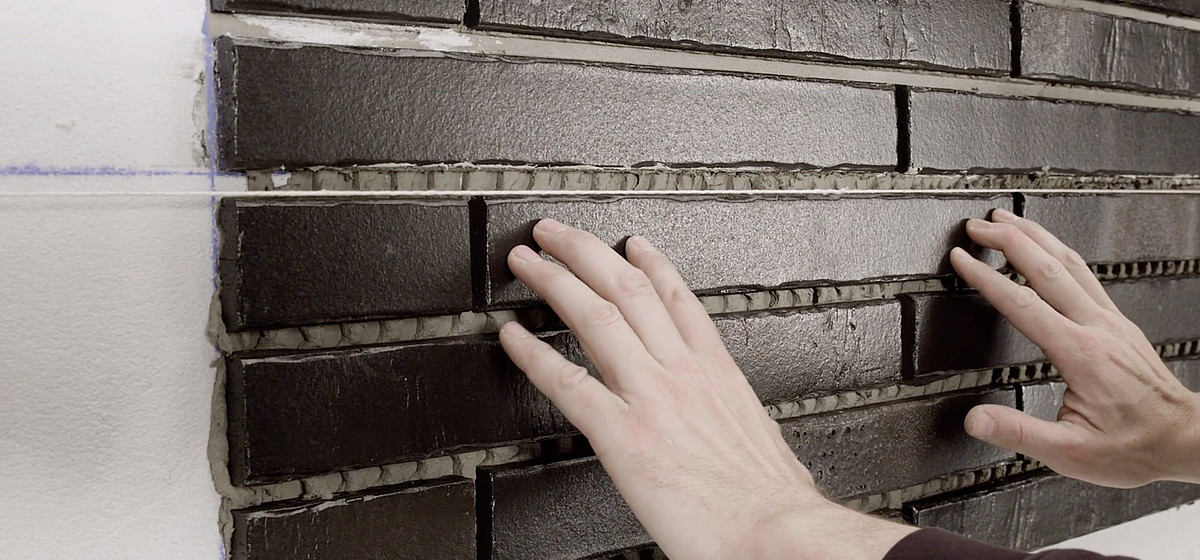
After arranging the layers at the corners of the wall, the angles at the outer corners are processed using the buttering-floating technique. „Floating“ describes the application of the adhesive with a trowel in a medium bed. For „buttering“, the back of the clinker brick slip is covered with adhesive using a spatula or trowel. The clinker brick slips are pressed into the adhesive bed. Use a cord as an auxiliary line to place the clinker brick slips.
„Floating“ describes the application of the adhesive with a trowel in a medium bed. For „buttering“, the back of the clinker brick slip is covered with adhesive using a spatula or trowel. The clinker brick slips are pressed into the adhesive bed. Use a cord as an auxiliary line to place the clinker brick slips.
The clinker brick slips are pressed into the adhesive bed. Use a cord as an auxiliary line to place the clinker brick slips.
JOINTING
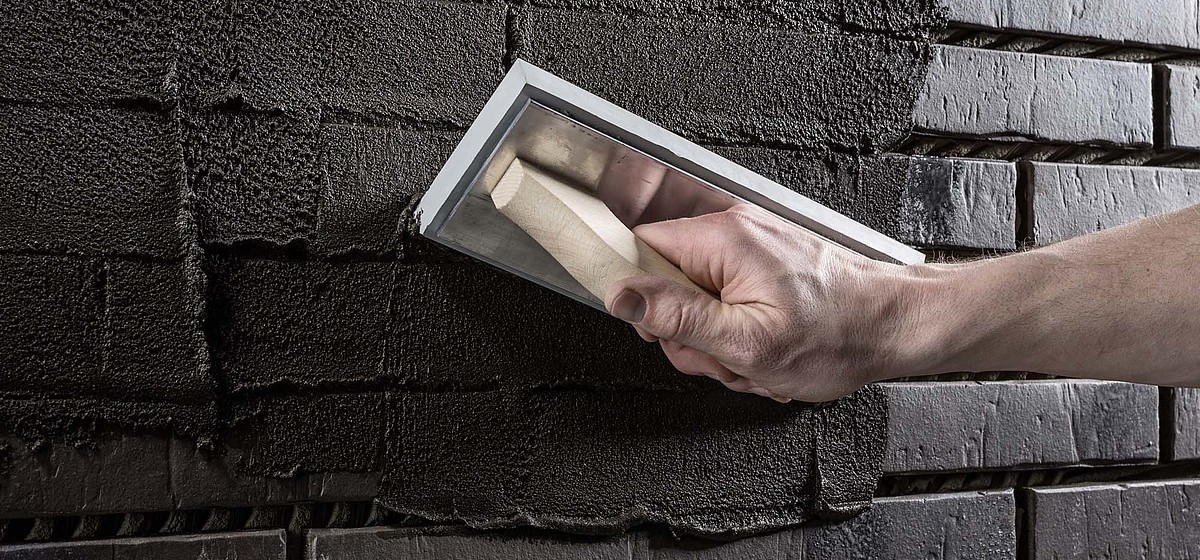
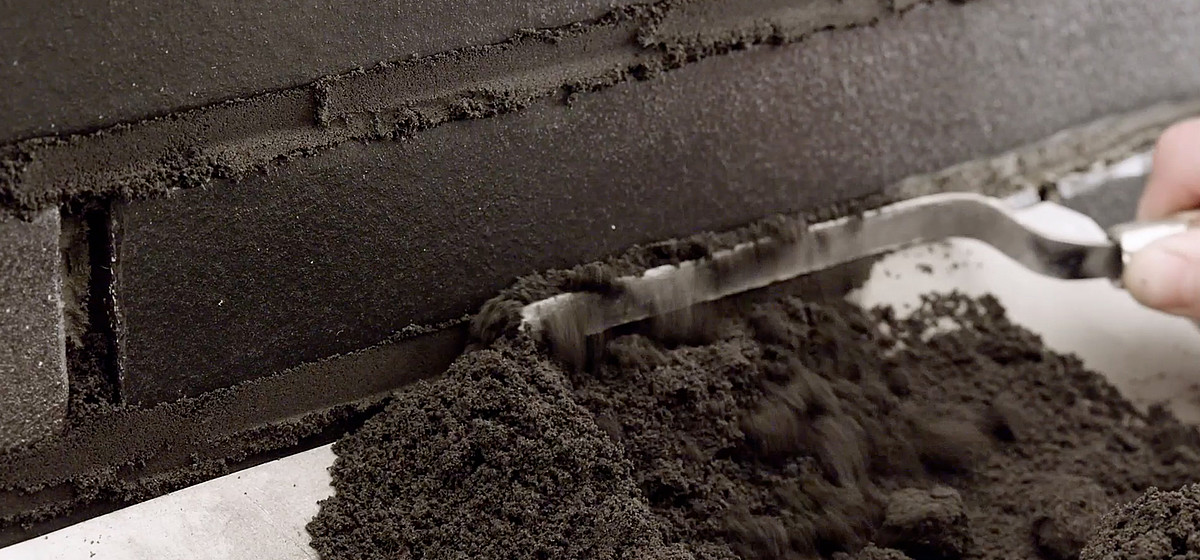
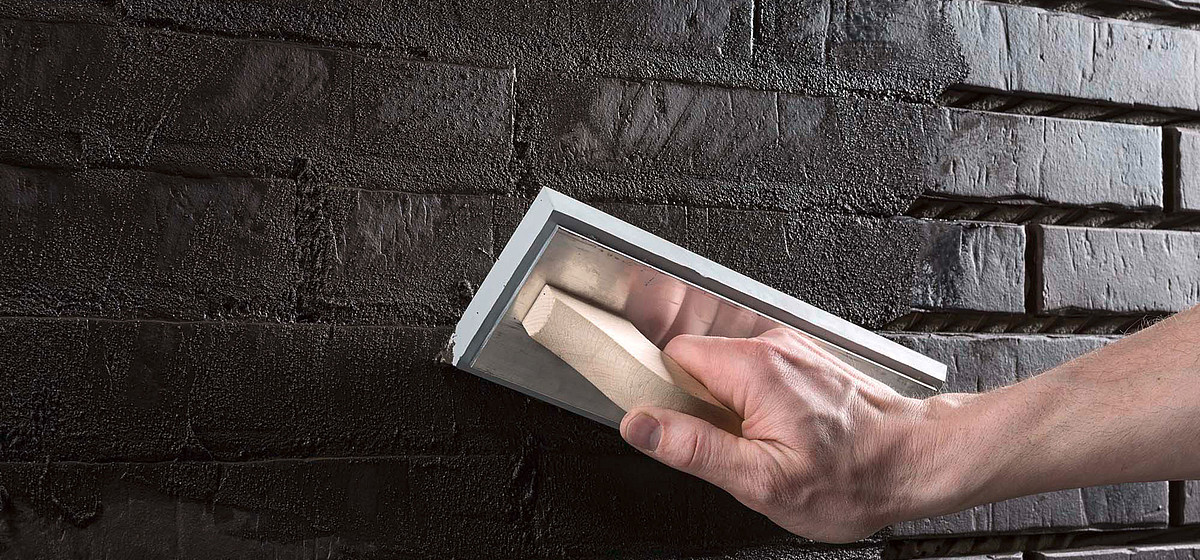
After applying the clinker slips and after a corresponding drying time (see the adhesive manufacturer‘s instructions), a start can be made on grouting. All rough, patinated and textured surfaces are grouted with a conventional pointing trowel and a metal float.
Clinker slips with smooth surfaces can be processed by the slurry method. There are a number of grouts on the market but some have plastic and pigment additives. For this reason, you should always consult the mortar manufacturer regarding suitability before choosing the grout.
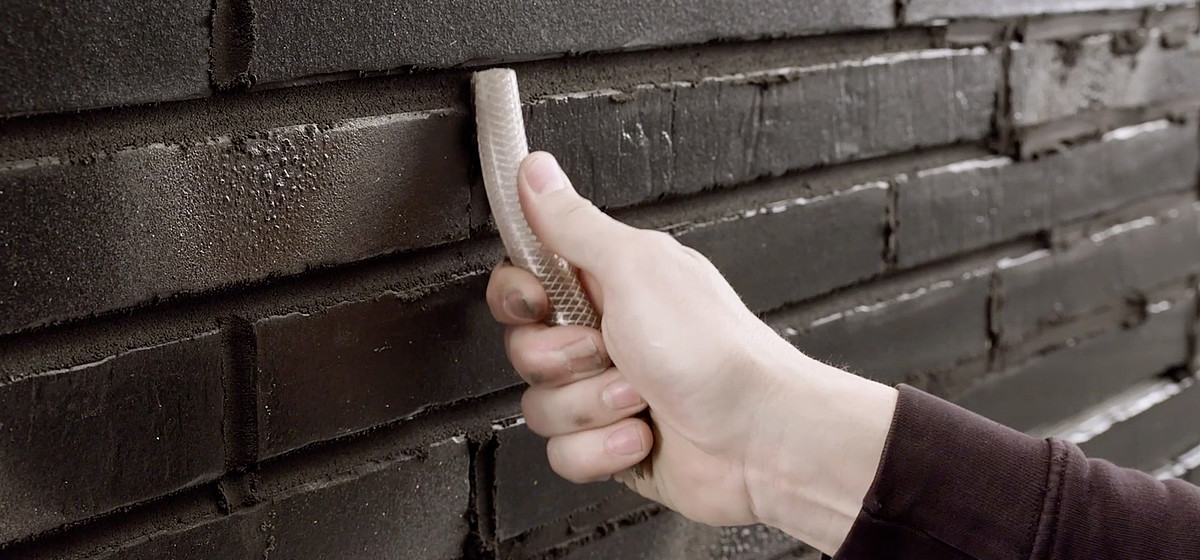
Different optics can be worked out in the trowel jointing. Whether smooth line, set back or a cove joint, which is here slightly pressed in and striked off with the help of a hose.


